For a very long time now I’ve wanted to have a way to record gameplay from my Wii, mostly just to preserve the cool moments of our playing sessions. After doing a bit of research I stumbled across RetroRGB, where a great guide has been written up for video capture.
Signal chain
I already had a Component-to-HDMI converter by chance, and after seeing that the little HDMI converter dongle costed a mere 8€ with shipping, I just couldn’t resist. After quickly planning the signal chain, I just kind of ordered the converter and one additional cable.
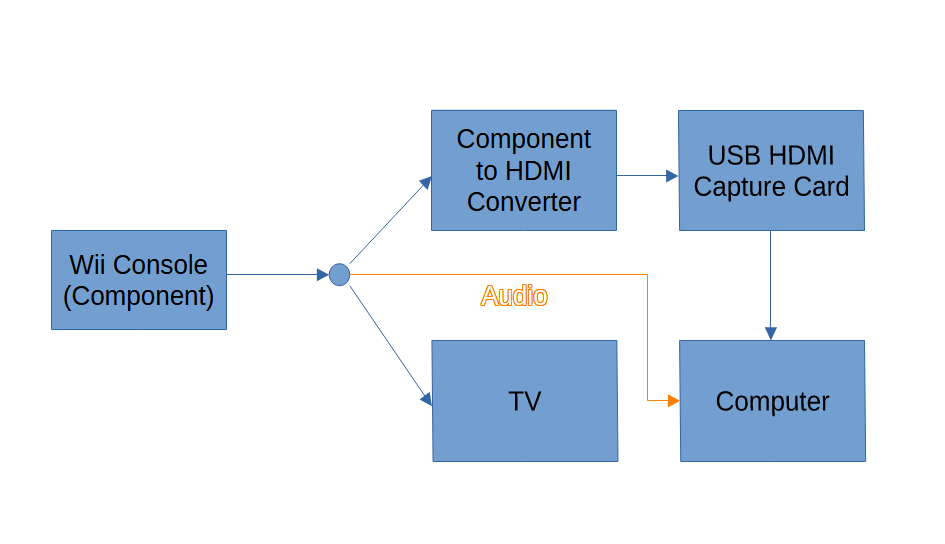
There are quite a bit of components between the signal source and the destination, but it seemed cheap and image quality was not a concern. Recording at real time much more so.
Setting it up
The computer that I had installed recently for use with the TV isn’t the most powerful, and GPU Hardware encoding was out of the question with the GT705. I planned to use ffmpeg to record the footage as it is lightweight and just works if you figure out the right parameters.
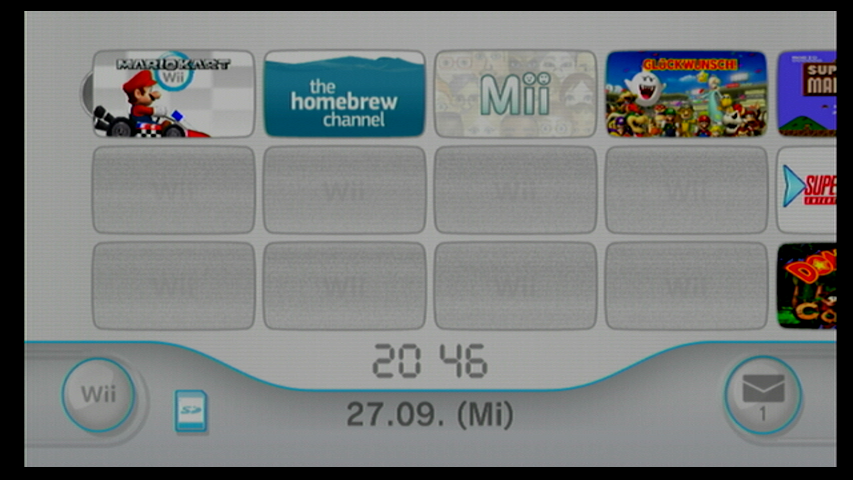
Eventually everything arrived in the mail, and it was time to do the wiring. I didn’t anticipate how messy it would get, but luckily I had a place to put everything. Firing it up for the first time, I was very happy to see the Wii homescreen displayed in VLC.
After that, it was time to figure out the recording with ffmpeg.
Recording with ffmpeg
For 30fps, which is used for example by Mario Kart in 3/4-player-mode, the CPU was powerful enough to encode in realtime with the desired quality. Unfortunately, it just wasn’t enough in 60fps. On the preset medium (a good tradeoff between speed and compression) frames were dropped constantly.
I finally decided to just copy the stream, move the file to my main PC and then encode there. Thanks to the Ryzen 7 3800X it was able to hit about 5x realtime no problem. Furthermore, that approach allowed me to tune the quality settings, audio codec and pretty much everything else afterwards.
One thing that is a bit disappointing is the recording quality in 60fps. While I can get lossless footage when using 30fps, it seems that the only way to get 60fps is using the mjpeg codec, where the artifacts are clearly visible when zooming in on stills.
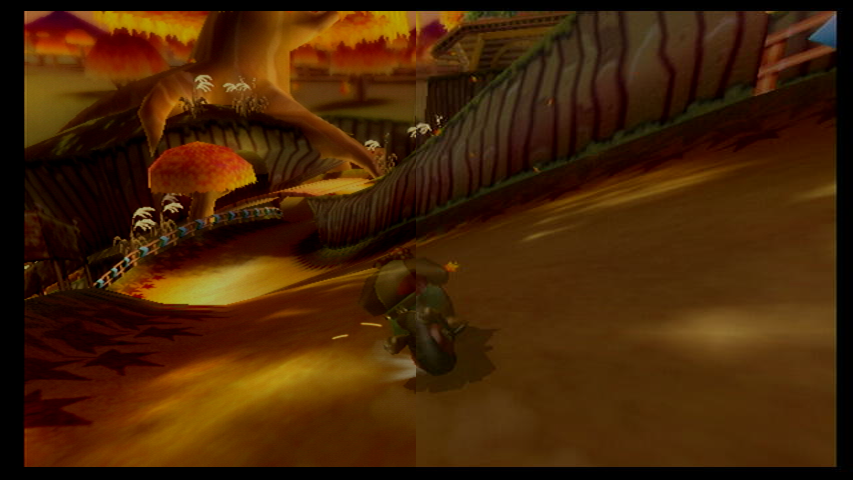
You can also download the screenshots for comparison here.
While this is annoying, in the end it is no big deal, because I wasn’t expecting crystal clear quality from a 6€ device anyways, and constant 60fps with no dropped frames are more important to me than the improved picture at 30fps.
Moving files
I briefly considered copying the files over my home network. That was quickly scrapped because it was just too slow. Then I remembered that I have an unused 128GB SD Card, and the recording computer just happens to have a built-in card reader. My tests concluded that the throughput was enough, so I settled for directly recording onto the SD card.
Automating it
After getting ffmpeg to work, I wanted to make it less of a hassle to use. As always, a quick powershell script was put together. Well, two actually (if you are interested, you can grab them here).
On the recording side the program prompts you to enter the game and the recording mode. Then, it automatically creates a filename, for easy identification later, and starts ffmpeg for recording. For the transcoding on my main PC you just configure the paths once, and then just run the script and it will ingest all files on the SD card and put them in the correct folder afterwards.
Conclusion
Overall, I’m very happy with the solution I came up with. It doesn’t cost very much, quality is decent enough for my purposes and it is relatively hassle-free to use. I know that this post is less like a guide or tutorial, but maybe it can be helpful regardless.
One thought on “Recording Gameplay from the Wii”
Comments are closed.